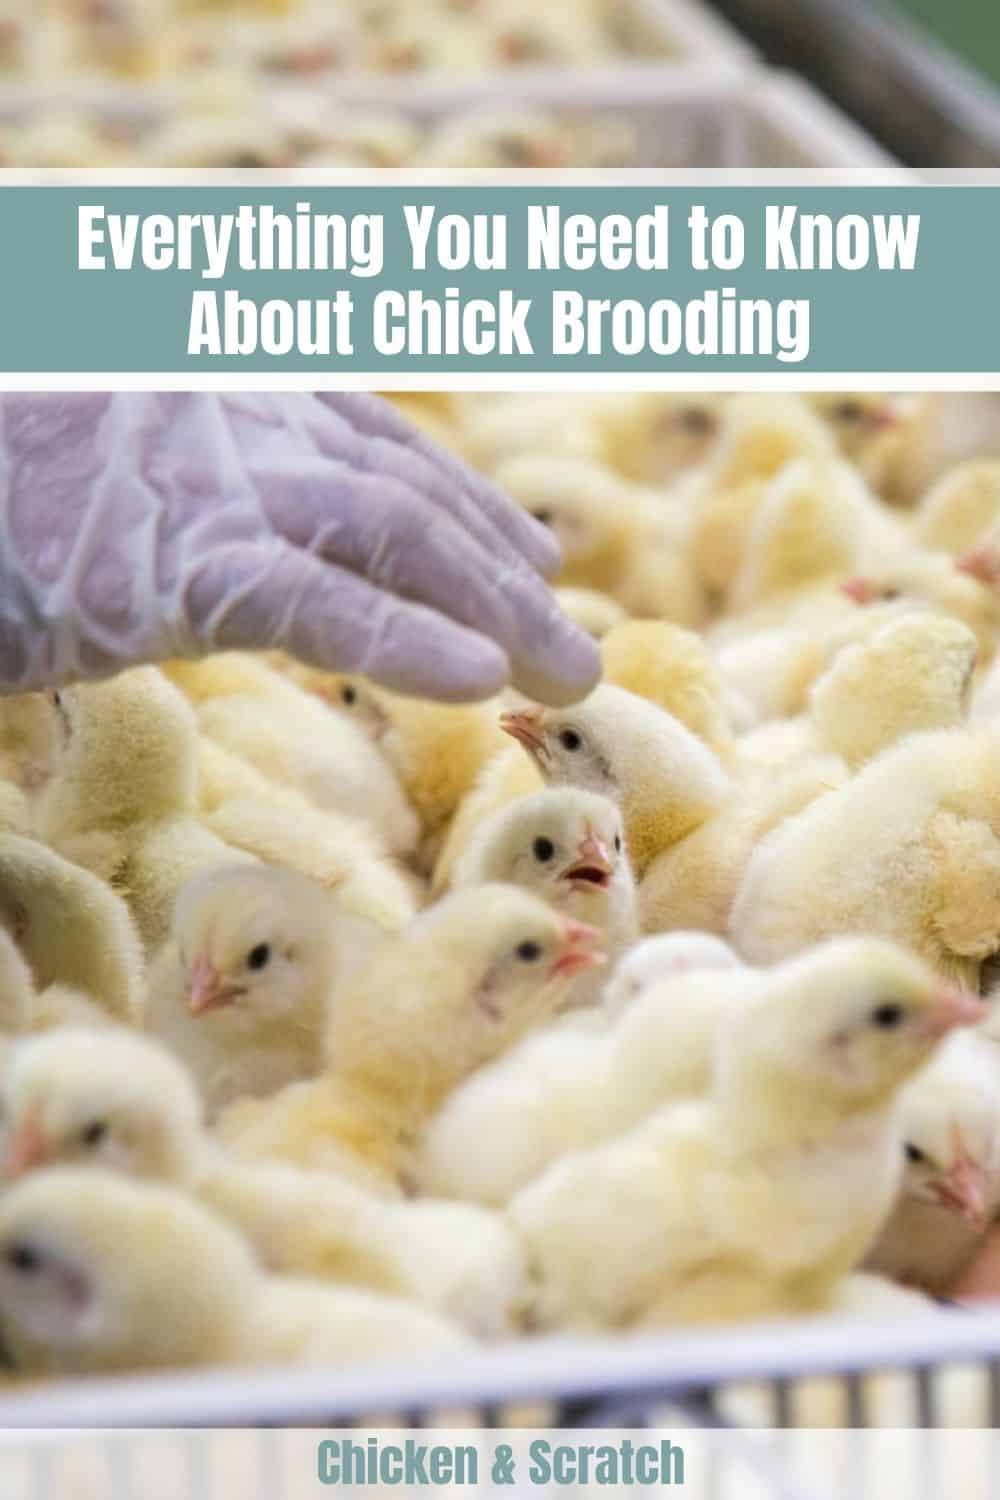
Do you have new hatchlings in your flock that need chick brooding? As this is a very crucial stage in your chicken’s life, you should come prepared. This article will give you all the know-how you need in brooding your chicks to ensure they get the optimum care.
This article will cover
- What is the brooding period?
- What is the purpose of brooding?
- What are the two types of brooding?
- Brooding area
- Bedding
- Ventilation
- Brooders
- Waterer and feeder
- 3 Things to Remember in Chick Brooding
What is the brooding period?
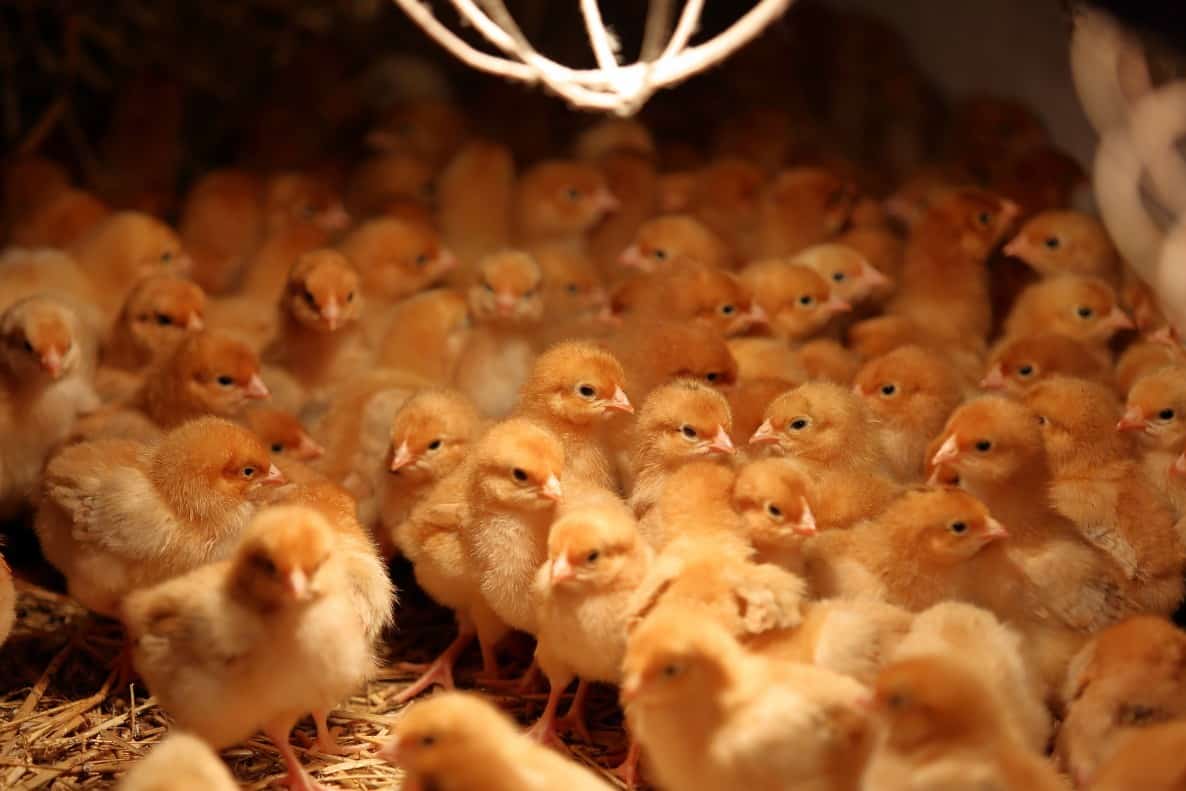
When an egg hatches and a chick is welcomed to the world, it is still unable to naturally regulate its body temperature for a few weeks. With this, the little hatchling needs external support to avoid chilling or overheating and for it to survive in the world outside its egg.
The hatchling’s first couple of weeks where it needs utmost care is called the chick brooding period. This is a very crucial period as it is the chick’s initial stages of life and development.
What is the purpose of brooding?
Chick brooding is done to help the hatchling adjust to its environment as its body develops and prepares itself to maintain its body temperature. Moreover, the main purpose of chick brooding is to rear your hatchling indoors, usually for three to eight weeks, as it molts its baby fluff to make way for its adult feathers.
As the owner, your task during the chick brooding period is to provide an indoor environment where you are able to control the temperature to fit the hatchling’s needs.
On top of that, you should also give it enough nourishment and a proper diet for it to grow healthily and thrive.
What are the two types of brooding?
There are two classifications of chick brooding: natural brooding and artificial brooding.
Natural brooding
As its name suggests, natural brooding is regulating a hatchling’s heat naturally. This is done with the help of broody hens.
What is a broody hen? A broody hen is a hen that sits on eggs the entire day to keep them warm until they hatch and sometimes even more.
You can tell that your hen is broody when it does nothing but sit on the eggs in the comfort of its nest — only getting up typically once a day to eat, drink, and release waste.
The broody hens of your flock can help in the process of natural brooding up to three to four weeks since the chick’s hatching.
Watch this video to know more about broody hens:
Artificial brooding
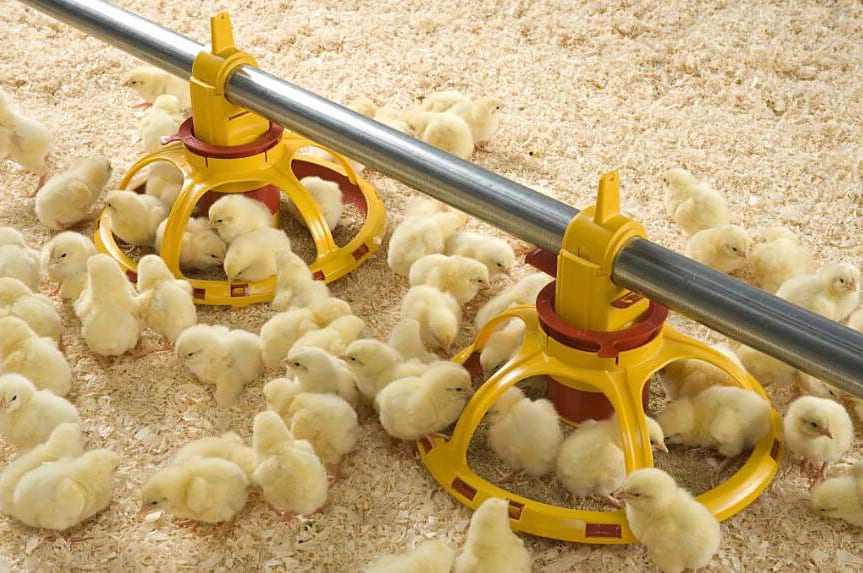
In contrast to natural brooding which uses broody hens, artificial brooding makes use of different equipment that, when combined, creates an artificial setup for heating a number of new hatchlings.
This equipment is referred to as brooders. Brooders usually consist of a heating source and a brooder guard.
Continue reading as this article will explain in detail the requirements needed in a brooder that is recommended for your little chicks.
Brooding area
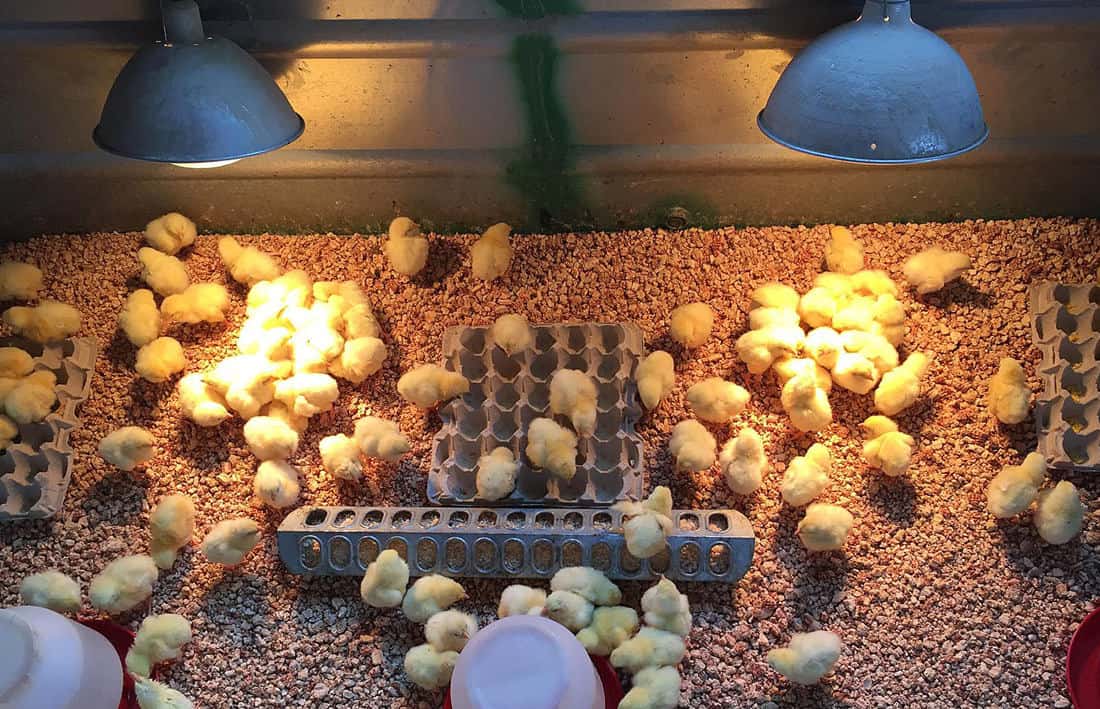
Do you have eggs ready for hatching? It is better to get your brooding area ready!
In chick brooding, you should dedicate a space in your farm or home for the brooding area. Not only must it have enough space to accommodate your chicks, especially when you have a large number, but it should also be conducive for growth and development.
The University of Missouri recommends allocating ample space for your birds as they grow into a couple of weeks old. Here is a quick guide on the floor space you should provide your chicks:
| Age | Floor space per bird |
| 0 to 4 weeks | 1/2 sq. ft. |
| 4 to 8 weeks | 1 sq. ft. |
Bedding
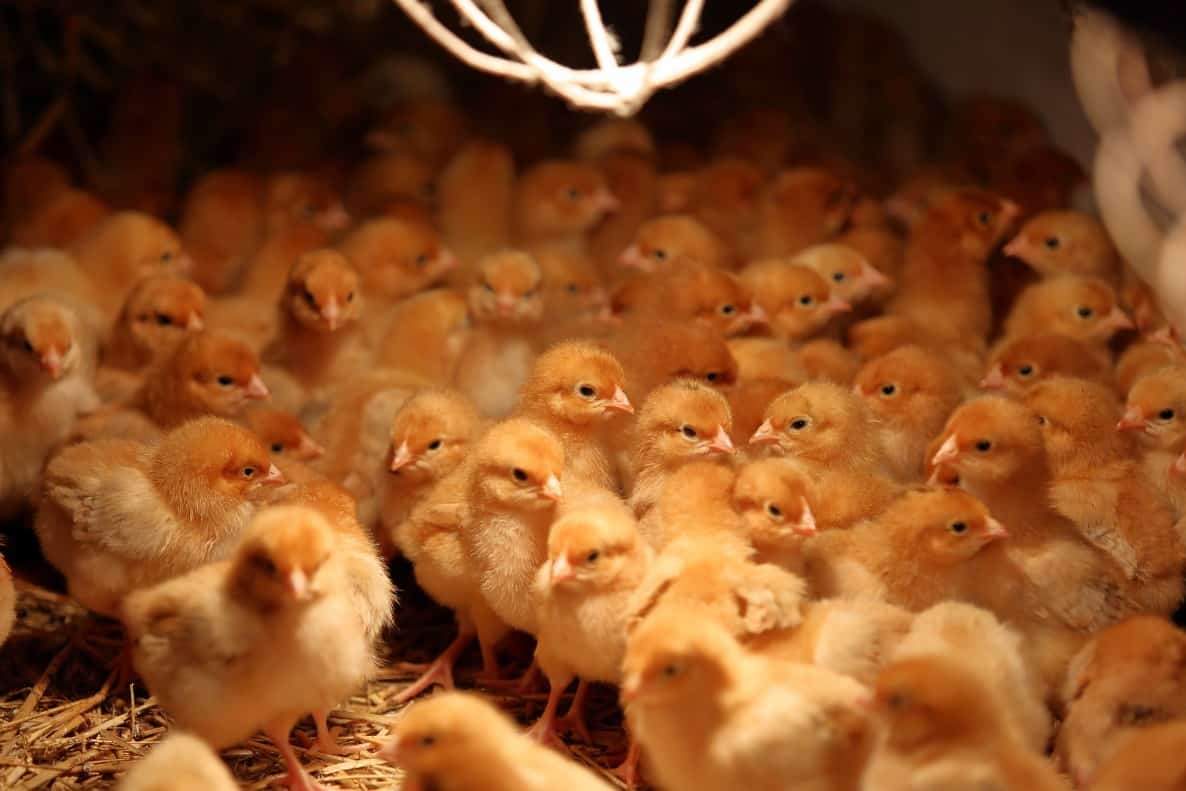
Aside from space for brooding, your brooding area should also have a layer of bedding where your chicks can stay comfortably. Prepare bedding made of quality and absorbent litter material.
This bedding can be three to four inches deep on top of dry sand or the floor of the brooder house. You can add more litter if you think your hatchlings need more comfort. If the temperature in the brooding house drops, add more litter for a total layer of up to eight to ten inches.
Litter should be absorbent to manage the moisture in the brooder house. Also, ensure that it is insulated to protect the hatchlings from the cold and comfortable yet strong to support the chicks.
Poultry enthusiasts recommend natural materials like rice hulls, pine shavings, peanut shells, and ground corn cobs.
As much as possible, avoid hardwood shavings as litter as they are prone to mold. In the same manner, avoid smooth surfaces like cupboards and newspapers as these may be harmful to your hatchlings. These can cause accidents like slips which may result in leg problems and worst cases, death.
Ventilation
Just like adult chickens, little chicks also need enough ventilation so as not to suffocate in their brooding house.
Give your chicks fresh air by having windows open. You may also add a ceiling fan especially when you have a big brooder house for better air circulation.
Proper ventilation also lessens moisture within the brooder house. As a result, the floor will be drier and mold is less likely to build up.
Brooders
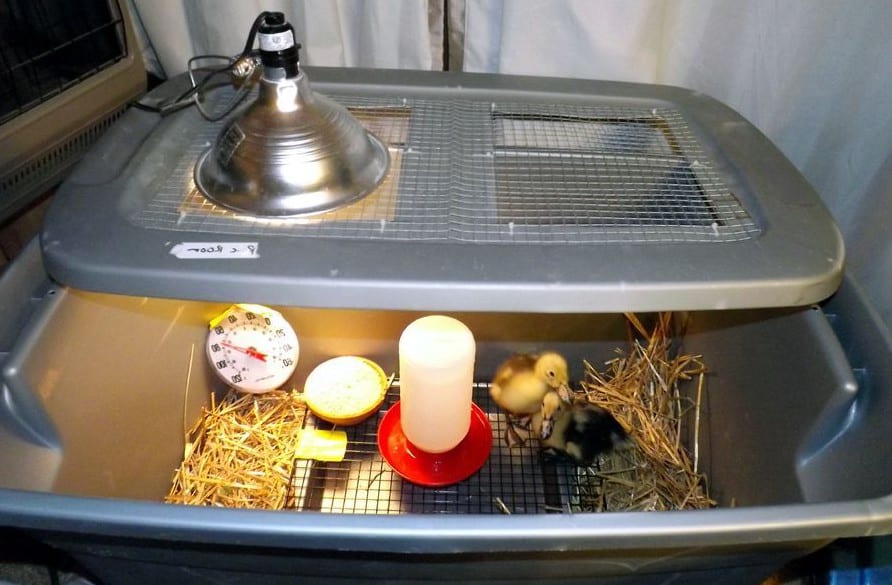
The equipment used in chick brooding is called brooders. There are different brooder plans that you can do at home. They usually have a heat source and a brooder guard.
Heat source
To keep your hatchlings warm, you need a source of heat to help them regulate their temperatures.
With all the different heat sources available in the market, picking the right one might be a challenge. It is best to know what these sources are to be able to compare and make the right choice.
The common heat sources are the following:
- Infrared heat lamp: The Pyrex-type infrared heat lamp is perhaps the best choice when brooding no more than 200 chicks. It is a self-reflecting bulb, usually 100 or 250 watts, that can maintain the sleeping patterns of your chicks compared to lamps with white and red bulbs. For every 50 to 75 chicks, provide one 250-watt bulb. As your chicks grow and are slowly able to manage their temperature, you can raise the bulb or lamp higher.
- Electrical brooder: Another choice for chick brooding is an electrical brooder. This heat source has a controlled heating system that is capable of distributing heat evenly in a large space. Usually used for a bigger flock of 300 to 400 chicks, the electrical brooder prevents chicks from crowding in a particular space.
- Charcoal or kerosene stove: If your brooding area has no electricity, you may improvise and opt for a charcoal or kerosene stove. Plates or pans are used to distribute the heat.
- Gas brooder: Another alternative when electricity is not available, chicken raisers use heating equipment that gets heat from sources like LPG, methane, or natural gas. They hang this equipment three to five feet above the chicks.
To summarize the heat sources, refer to the table below.
| Heat source | Equipment needed |
| Infrared bulb | 100 or 250-watt infrared bulb |
| Electrical brooder | Electric-powered controlled heating system |
| Charcoal or kerosene stove | Charcoal or kerosene stove with plates or pans |
| Gas brooder | Heating equipment with natural gas, LPG, methane as energy source |
Check out these reminders when choosing a heat lamp
Brooder guard
Also known as a chick guard, a brooder guard is used to keep the hatchlings close to the heat source. You can use a cardboard ring as a brooder guard or other materials such as a GI sheet, chicken wire, or a mat.
In preparing a brooder guard, make sure that it is spacious enough for the chicks to move around. There should also be enough space for the chicks to go far from the heat source in case they already feel too hot.
The rule of thumb is to provide a brooder guard with a 6-feet diameter for a flock of 50 chicks.
As your chicks grow each week, you can add more distance between the guard and the heat source. This is because as time passes, hatchlings learn to adapt as their body learns to regulate their temperature.
Waterer and feeder
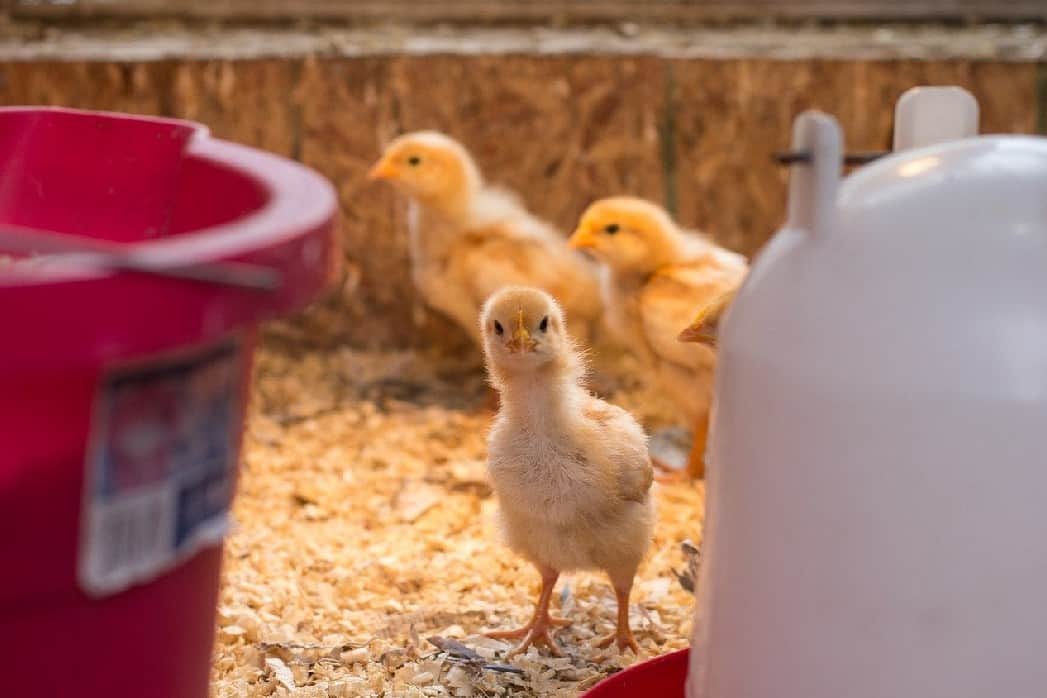
A brooder house is incomplete without waterers and feeders for your chicks. As they are in an important stage of development, you, as the owner, should give them enough food.
Chick feed or chick starters should provide the nutrients needed for these little hatchlings to grow healthy. Consult your veterinarian for the best chicken feed that can sustain your growing chick’s needs.
Remember: when putting a waterer and feeder, the number of chicks should be taken into consideration. Both waterer and feeder should be enough for your flock to avoid dehydration and malnutrition.
Three Things to Remember in Chick Brooding
Take note of these important tips as you work on your chick brooding.
1. Turn on the heat source before putting your chicks
If your chicks are ready for brooding, don’t put them in the brooding area right away. Make sure you turn on the heat sources at least 24 hours before they arrive so you can check if everything is working fine.
In addition, this is also to make their living quarters dry and warm so that they will feel comfortable when they move in.
2. Constantly monitor the temperature
If you have a thermometer in your brooder, check the temperature regularly to ensure that your chicks do not feel cold or overheat. You can decrease the temperature as weeks progress and your chicks’ feathers start to grow.
Should your heat source come with instructions, refer to them as a guide in deciding the appropriate temperature for your flock.
3. Observe chick behavior
Chick behavior tells a lot about the situation of your flock in your brooding area.
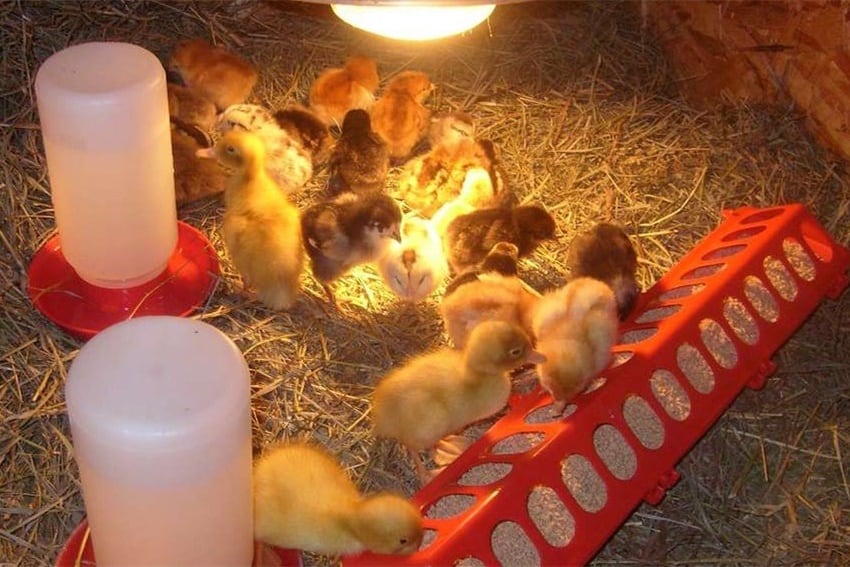
For instance, if your chicks feel cold, they will most likely bundle together under the heat source. This can, therefore, prompt you to increase the temperature to avoid chilling.
On the other hand, if they stay away from the lamp, that could mean that it is too warm for their liking. Also, check for panting and gasping for air as these are signs of overheating.
If they are well-distributed in the area, the temperature is probably just right as they are not bothered.
Wrap-up
Chick brooding is crucial in your flock’s development so prepare for it. If you have broody hens, they can help rear the hatchlings. However, in the absence of one, you can always go for artificial brooding. Equip yourself with a brooder and all the necessities to ensure your chicks achieve optimal growth and development.

Joseph Hudson has been raising chickens for over 15 years. In 2018, he completed the Agriculture & Natural Resources program at Mt. San Antonio College. He currently raises over 1400 chickens on his 7.5-hectare farm. He keeps sharing his experience on raising healthy and happy chickens on Chicken Scratch The Foundry.
