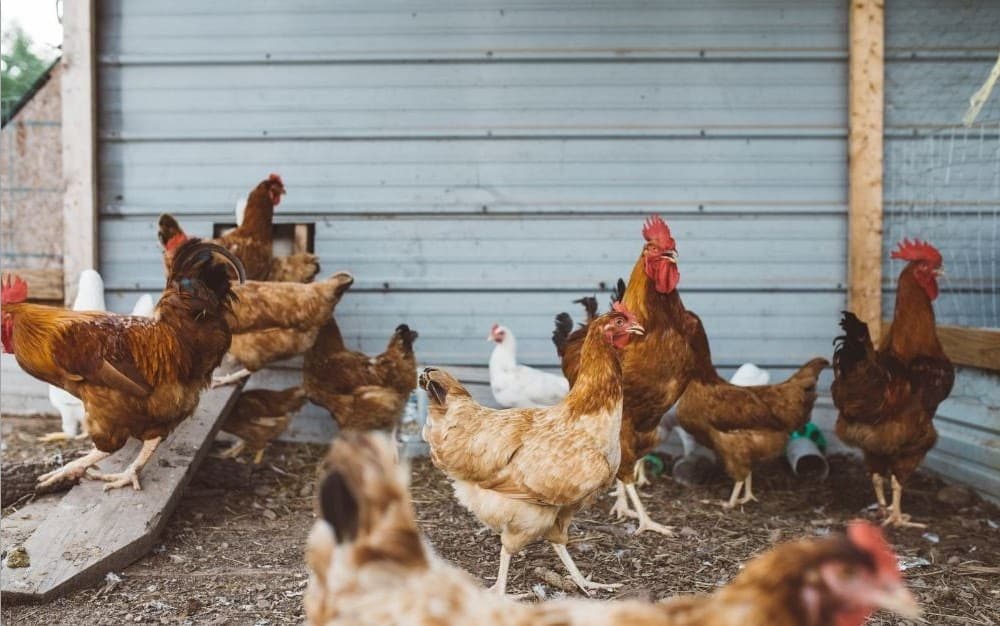
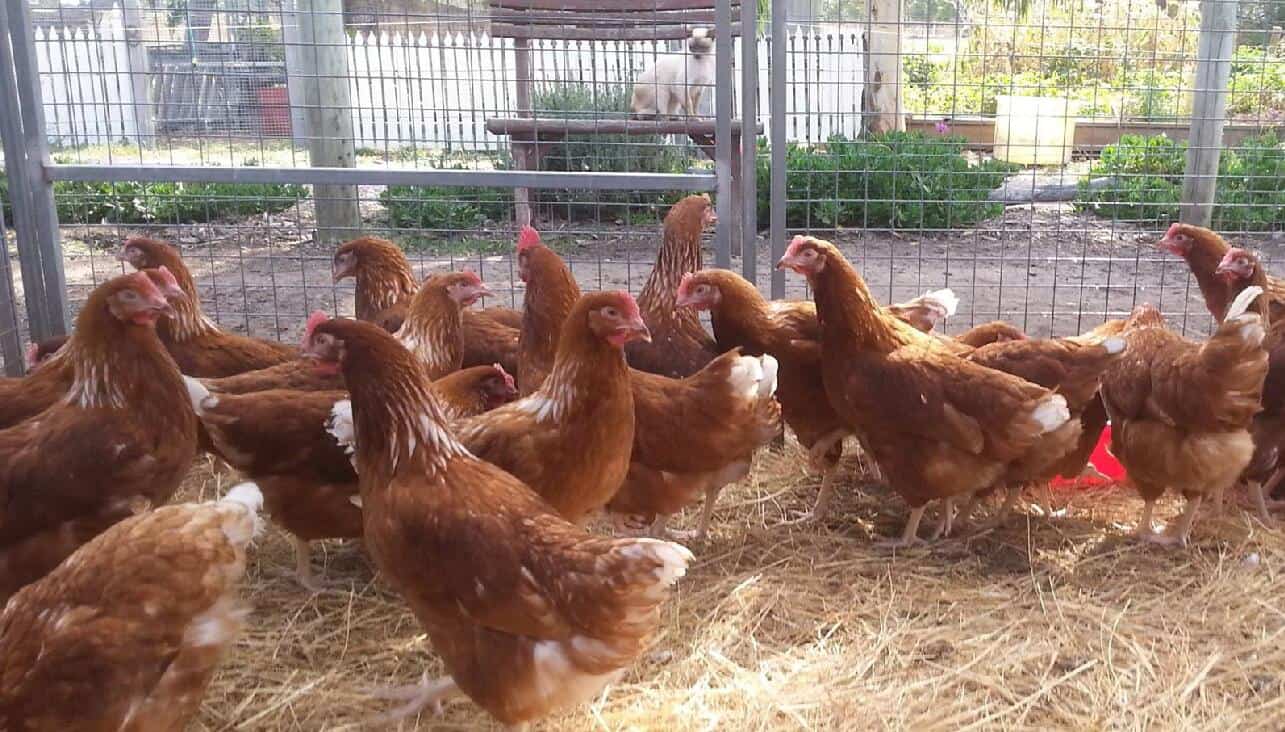
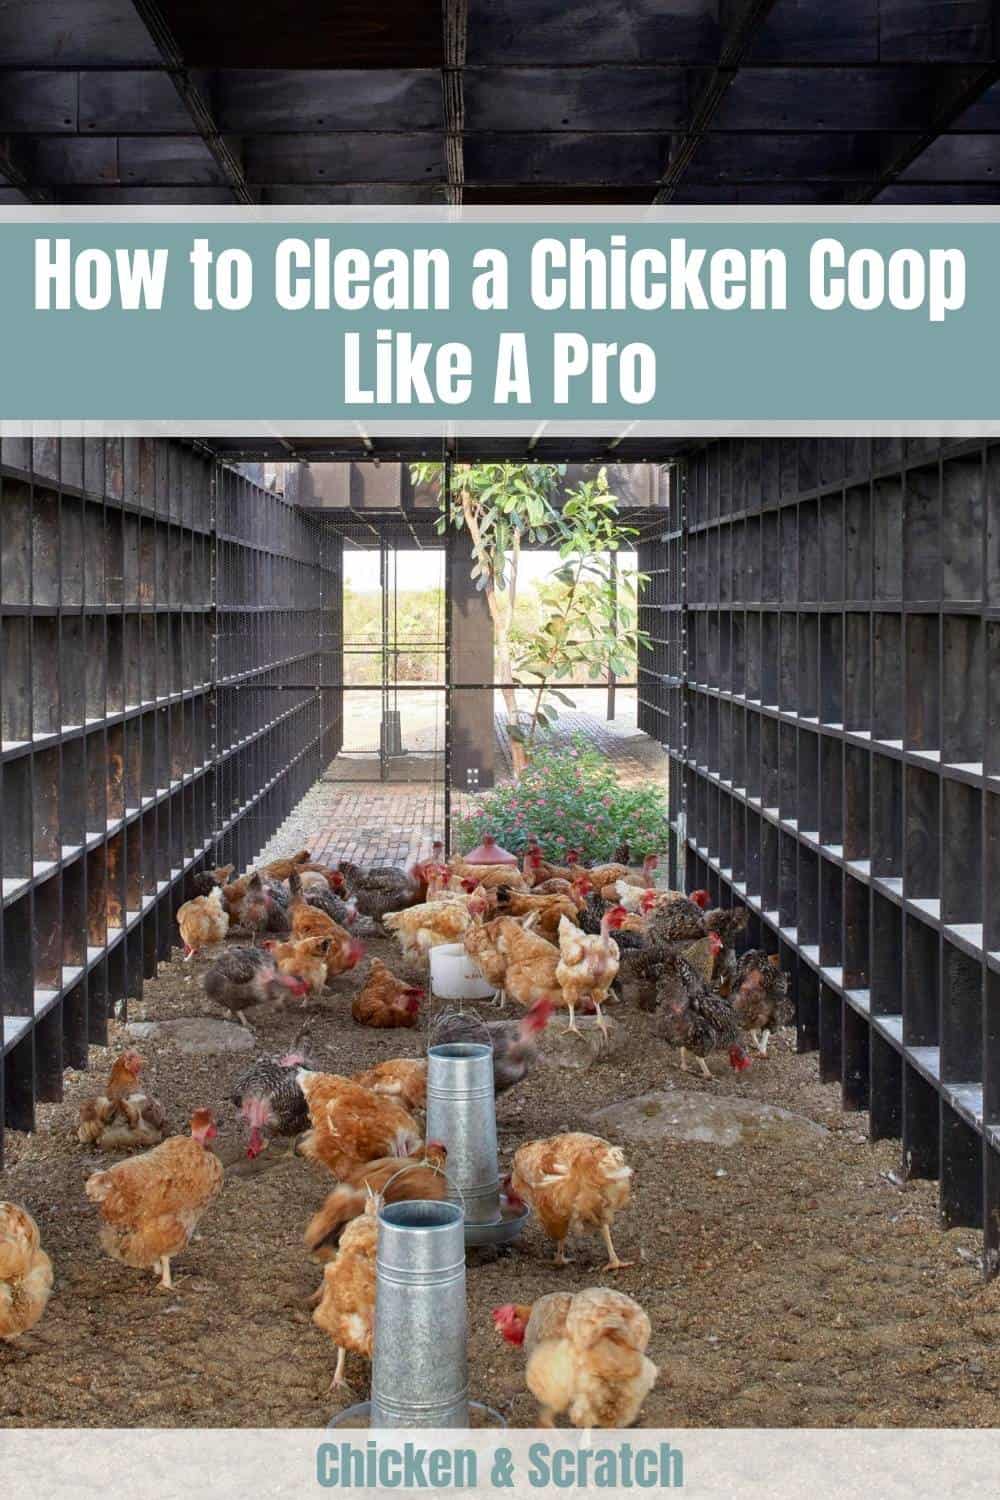
You might assume how to clean a chicken coop doesn’t need any explanations. To some sense, it is. However, if you desire to protect your flock from illness, deter flies, and remain inconspicuous to the neighborhood, there is indeed a better method to cleanse your coop rather than just eliminating all the filthy bedding.
This article will cover
- Tools Needed to Clean a Chicken Coop
- Importance of Keeping the Chicken Coop Clean
- 5 Steps On Cleaning A Chicken Coop
- How Often do You Clean A Chicken Coop?
- 5 Effective Tips On Cleaning The Chicken Coop
Tools Needed to Clean a Chicken Coop
Before you begin to clean a chicken coop, you may need extra materials to safeguard yourself and adequately remove dirt and germs from the coop. Since you will be cleaning every corner of your coop, it’s a good idea to secure your flock first somewhere in your area. Below is the recommended list of equipment on how to clean a chicken coop.
1. Pressure washer
2. Protective gear, such as work gloves, goggles, mask, and rubber boots
3. A shovel, scoop, rake, broom, and brush are all useful tools.
4. Pail, sponge, towels, tissue paper, or any wipes, and a couple of garbage bags
5. Essential repair tools such as lumber, wires, sealant, pliers, nails, and hammers are required.
Importance of Keeping the Chicken Coop Clean
Before you proceed to anything below, let this part tell you first why your coop’s cleanliness is essential for you and your flock. Although your flock probably has lesser cleanliness standards than you do, it is critical to know how to sanitize a chicken coop when it’s due.
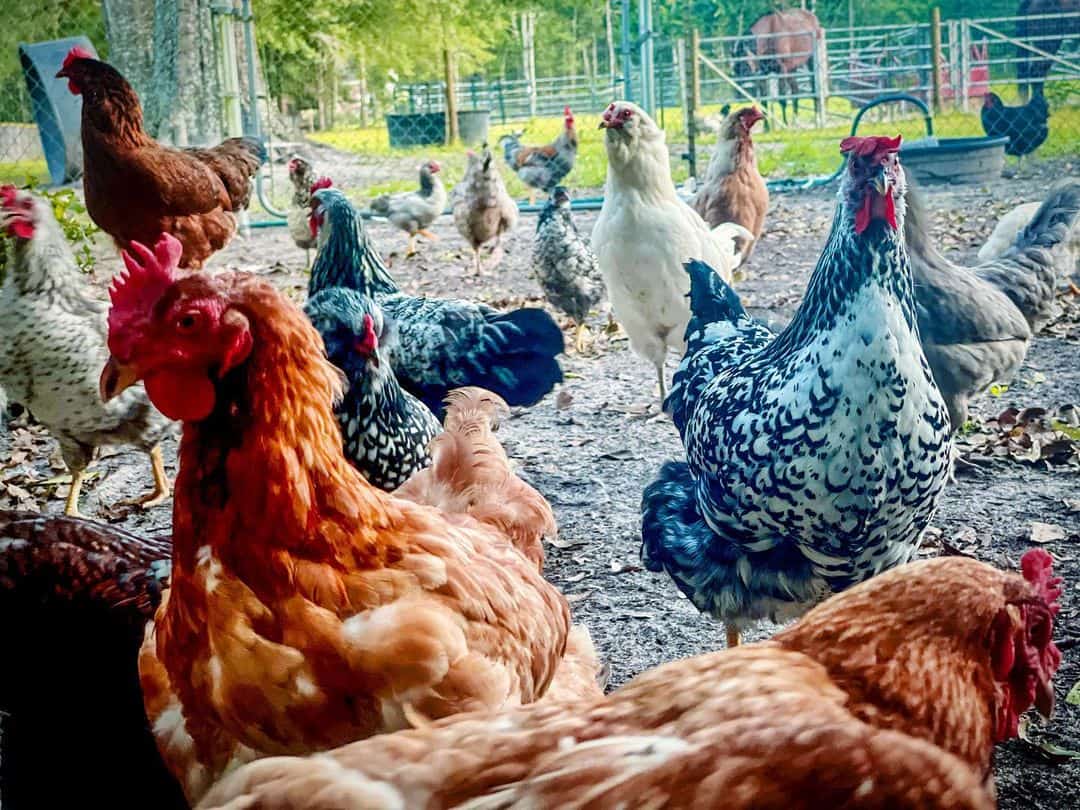
Flock hygiene
A healthy flock flourishes in a healthy surroundings. You can assist in keeping your chickens healthy by avoiding the accumulation of germs and diseases caused by fecal pollution. Additionally, make it safe for your family by aiding in the prevention of fowl to human transmission.
Preventing Disease
Preventing diseases is will always be preferable to the treatment of diseases. This is another excellent reason why it is important to clean the chicken coop. Coccidiosis develops rapidly across a flock of laying hens
Chickens’ normal behavior is to scratch on the ground. If a chicken eats a sporulated oocyst present in the feces of an affected chicken, the disease may spread. Although Coccidiosis is treatable, you can help prevent contamination of the flock by controlling waste.
Odor
Aside from your neighbors, the smell of a filthy chicken coop is an excellent reason to clean. If your coop is equipped with quickly accessed cleaning trays, the more often they are removed and cleaned, the less the odor there will be. When removing manures, you safeguard your flock from diseases and parasites. Another motive to clean the coop is to keep rats away. Rats are drawn to coops for two primary reasons: chicken feed on the ground and the odor.
5 Steps On Cleaning A Chicken Coop
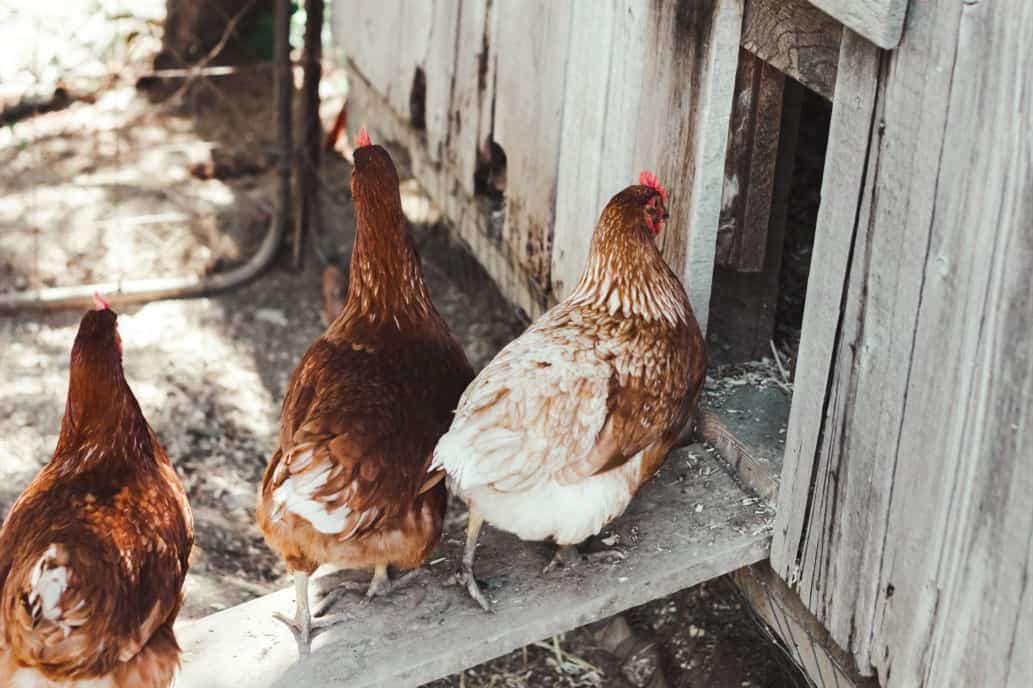
Step 1: Clear the coop
Remove the feeders and waterers, nest boxes, and any other detachable objects—clean such things using a non-toxic solution. Also, you may move out the dirty bedding. You can now start cleaning the coop, use the equipment mentioned above.
Droppings, feed scraps, and dirty beddings may all contribute to muck build-up on the coop. After you’ve eliminated all the dirt, you can start to wash out all the remaining dirt. Let the water soften any stuck-on debris before scraping them off.
Step 2: Disinfect
After removing all the dirt, you can start disinfecting the coop. You may either use a nontoxic cleaner you can purchase at poultry supply stores or make your own disinfectant solution. Resist using bleach. Instead, you can use baking soda or vinegar. Both are non-toxic and have eco-friendly cleaning qualities. Let it dry after the procedure.
Step 3: Inspect for damages
While your coop is drying, carefully examine the coop for damages. Examine the walls for holes and roof for leaks, the nesting boxes, and any spot that may need reinforcement.
Step 4: Diatomaceous earth
After the coop has thoroughly dried, you may consider applying and spreading Diatomaceous Earth on the ground. DE is excellent in keeping parasites away from your flock.
Step 5: Move everything back in
After providing a clean and healthy home for your flock, it’s ready to be occupied again. Bring back in the coop equipment, but be sure to clean them first. Replace bedding to provide a comfortable for your hens and replenish feeders and waterers.
How Often do You Clean A Chicken Coop?
Now you know how to clean a chicken coop, a scheduled routine can guarantee a healthy flock but must be modified to the flock’s requirements by frequent monitoring the chickens and coop conditions. If you’re a newbie to backyard flock, this detailed schedule will help you start.
| Item to Clean | Cleaning Cycle |
|---|---|
| Feeders | Daily |
| Waterers | Daily |
| Nesting Boxes | Weekly |
| Roosts | Weekly |
| Coop Bedding | Monthly |
| Coop Interior | Half-Yearly |
| Coop Exterior | Half-Yearly |
| Dropping Trays/Boards | Weekly |
| Ventilation Areas | Monthly |
DAILY
- Feeders and waterers must always be clean, free of dirt like droppings, feathers, and other objects.
- Gather eggs once a day and reorganize nesting boxes.
- Conduct a quick flock inspection. Sanitation difficulties may manifest as health concerns.
WEEKLY
- Disinfect the waterer and feeders. As dirt and algae can rapidly accumulate on waterers. Also, remove moist and clumping chicken feed on feeders.
- Clean up the roosts by brushing or wiping them to eliminate any collected droppings.
- As required, replenish beddings in nesting boxes.
- Conduct a visual inspection of the coop for damages. Repair natural wear and tear or damage caused by predator attempts to force entry to the coop to avoid possible bacteria issues caused by moist environments.
MONTHLY
- Damp bedding may be a significant health hazard; replace them. But do not disturb a box with brooding hen.
- Rake the ground to clear away extra manure, and flatten the ground.
- Dust and cobwebs can quickly accumulate; you may want to clean the screen and windows, too, as it contributes to proper ventilation.
HALF-YEARLY
If the schedule and plan above are followed, a twice-yearly deep clean can typically be completed within a few hours, though the exact time required will depend on the size and condition of your coop. General cleaning is most effective in the autumn or spring season when the climate is favorable.
- Remove the debris with a shovel and put it in a compost bin. The manure plowed from the coop during the autumn season will be ready to put in the garden by spring.
- Clean and dust the coop. Clear loosened dust from all corners of the coop before rinsing.
- Brush the nest boxes and roosting perches. Scrub those elevated areas and other places where feces have accumulated.
- If possible, white vinegar or baking soda may be used rather than bleach. Wait for thorough drying of all surfaces before replenishing the bedding.
5 Effective Tips On Cleaning The Chicken Coop
Following one of these tips below can make you reduce time and energy on necessary tasks, or maybe could save you from some expenses. How to clean a chicken coop should no longer sound dirty.
Use tarp
Place a clean and dry tarp on the ground of your chicken coop and top it with your preferred bedding, except sand. If it is time to clean, pull the tarp, fold or roll it along with the used bedding, and take it to the trash pile.
Ensure that you disinfect the tarp before reinstalling it. And now, your coop is clean, and the ground is dry!
Deep litter
Alright, so this is the most preferred technique since it enables you to collect the lowest quantity of feces possible while still providing additional warmth for the flock. As the name suggests, the deep litter method involves beginning with a solid foundation and letting your litter grow up and decompose directly on the coop’s flooring.
In colder areas, the trash is not collected but instead mixed and added repeatedly. The composting litter and dung in the enclosure add comfort for the flock. If you want to give the deep litter method a try, begin with a clean and fresh coop.
Use vinegar
You can use apple cider vinegar, distilled vinegar, orange peel vinegar, or another variety of vinegar. Homemade or purchased vinegar, it doesn’t matter. It is an effective and safe cleanser and can disinfect your coop. A rigid brush and a clean cloth, along with a supply of this material, will ensure that your coop remains spotless till the chickens return! Additionally, the scent disappears quite fast, making the entire coop feel fresher.
Dropping trays or boards
Placing dropping trays or boards underneath the roosts, in addition to providing detachable roosting perches, would be another excellent method to simplify and expedite the chicken coop cleaning.
Use sand
Sand bedding dries quickly, does not degrade, and gives your flock a readily available dust bath. Some flock owners suggest putting sand on the chicken run and a safer kind of bedding within the coop, such as pine shavings or straw.
Summary
How to clean a chicken coop can be a pretty tiring process, yet rewarding. Nothing beats the rewarding feeling of your efforts. Proactively maintaining the health of your flock is much simpler and more effective than waiting for diseases to strike and then addressing them. Nothing encourages health more than a tidy environment. Clean coops make healthy flocks and healthy fresh eggs and meat.

Joseph Hudson has been raising chickens for over 15 years. In 2018, he completed the Agriculture & Natural Resources program at Mt. San Antonio College. He currently raises over 1400 chickens on his 7.5-hectare farm. He keeps sharing his experience on raising healthy and happy chickens on Chicken Scratch The Foundry.