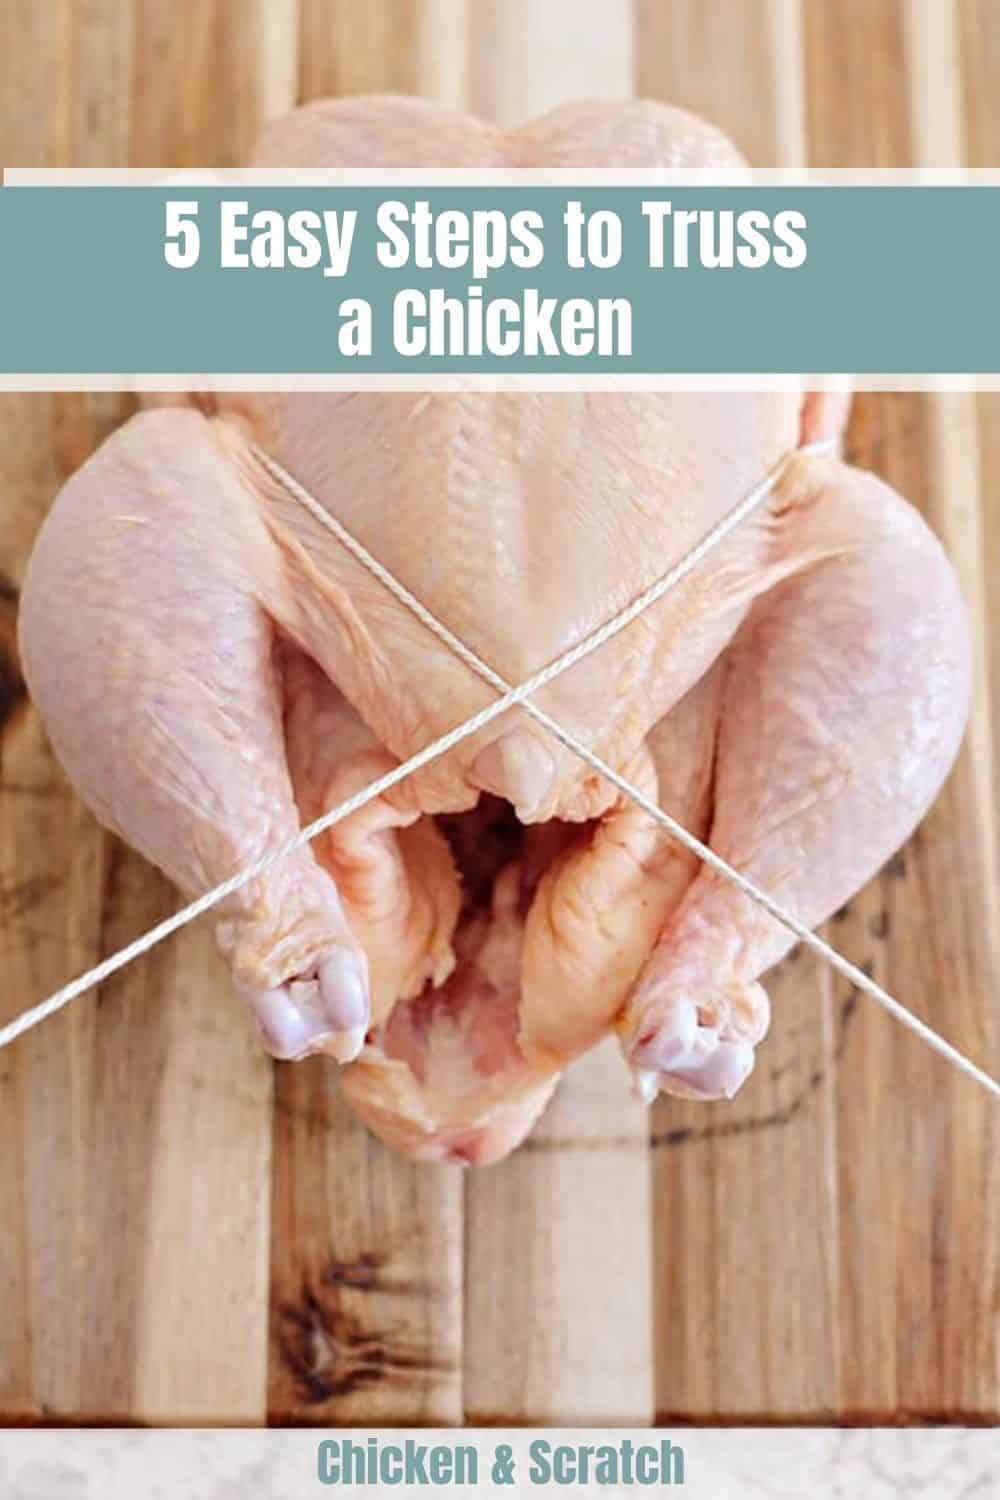
Do you want to know how to truss a chicken? Well, you might be surprised. Trussing a chicken may sound and look complicated, but it is not!
This process is not only for presentation purposes. In addition to making the chicken look good, it also helps in making it taste good. It is a quick and easy process to help you become like the pros.
Without further ado, here is our chicken trussing 101.
What Does Trussing Mean?
Trussing sounds tricky, but it is not.
It simply refers to the process of tying meat, which is usually used in reference to poultry.
Why Should You Truss Your Chicken?
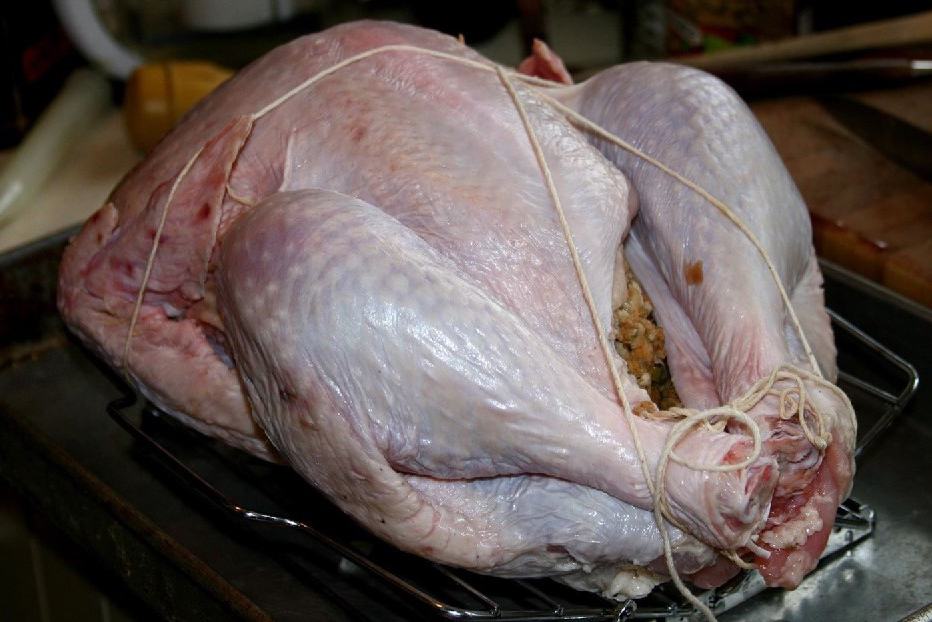
The main goal in trussing a chicken is to ensure even cooking and enhance its flavor.
It will not help in adding flavor to your chicken. Trussing is more about ensuring that all parts are properly cooked.
When you truss a chicken, you will have one good-looking chicken on your table that tastes good. You will enjoy a juicy chicken with no dry parts.
What Do You Need to Truss a Chicken?
The first thing you would need would be a whole chicken, of course!
Next, you will also need some twine. It could be ordinary kitchen twine, but butcher’s twine seems to be a crowd favorite.
If you do not have those two, then you can also use some dental floss. You want the unflavored and unwaxed kind for this. We do not think you would like your chicken tasting like mint!
You would also need something to cut the twine. You can use some scissors for this or even a knife. Just make sure they are sharp!
Lastly, you will need a clean surface where you can do the trussing process.
How to Truss a Chicken?
Okay, now that we answered the whats and whys, let us answer the how.
There are many ways to truss a chicken. We will be showing you what we deem is one of the easiest and safest trussing methods.
Step 1: Preparing the Chicken and the Twine
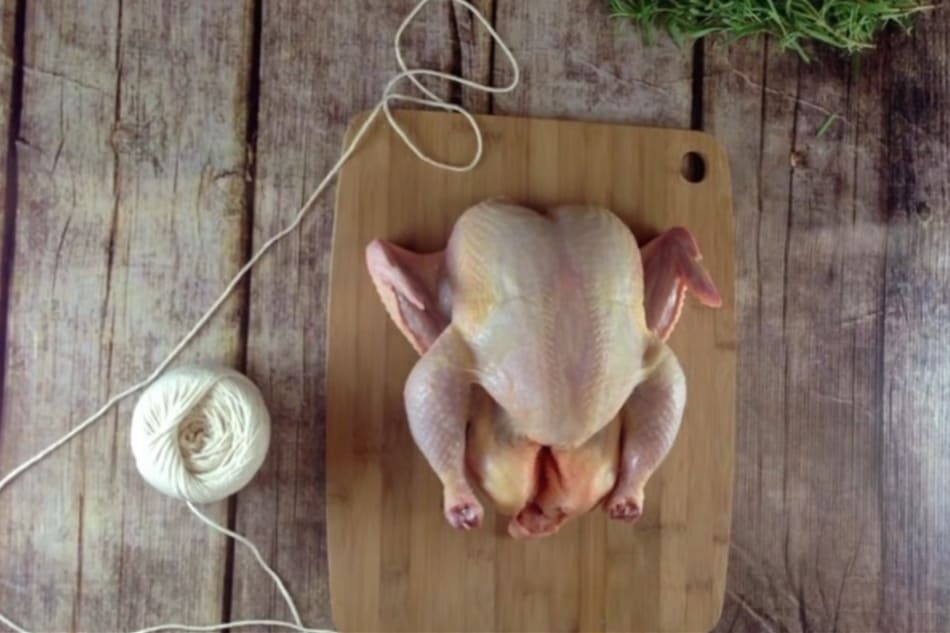
First, you want to cut up your piece of twine. How long it should be would depend on your chicken, but there are two ways that almost always ensure you get the right length.
You can either measure the length of your chicken or use the width from your shoulder to your arm.
If you go with the first one, measure the length of your chicken using the twine. After that, triple that length and cut. You want to be sure you have more than less. It is easier to cut it when finished than to cut another piece.
If you want to use the latter method, measure the length from your shoulder to your hand using the twine. Double that length and cut. If you have long arms and only dealing with a small chicken, then you might not want to fold it anymore. You can add a few inches instead.
Next, you might want to pat your chicken dry with some paper towels. This part will help you with handling the chicken. It will also help in achieving a crispy skin, so you might want to keep that in mind.
Step 2: Forming the Chicken (The Legs)

Place the chicken breast side up with the legs facing towards you.
Hold the legs and push them into the body of the chicken. It will still open up a bit. However, if you did it right, then it should look a little more compact than before.
Step 3: Forming the Chicken (The Wings)
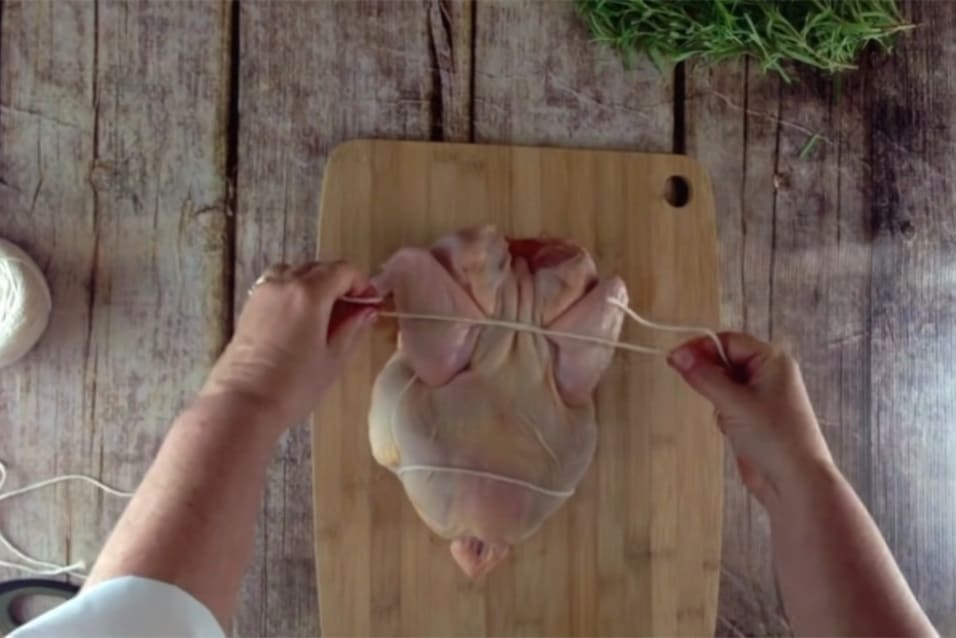
Next, let us focus on the wings. This part is slightly more complex.
With your chicken still in the same position, you want to hold on near the tips of the wings. Fold the wings and then push its outer parts up.
After that, the outer part of the chicken wings should be where the chicken neck was before. Secure the outer part of the wings behind the chicken.
Step 4: Tying
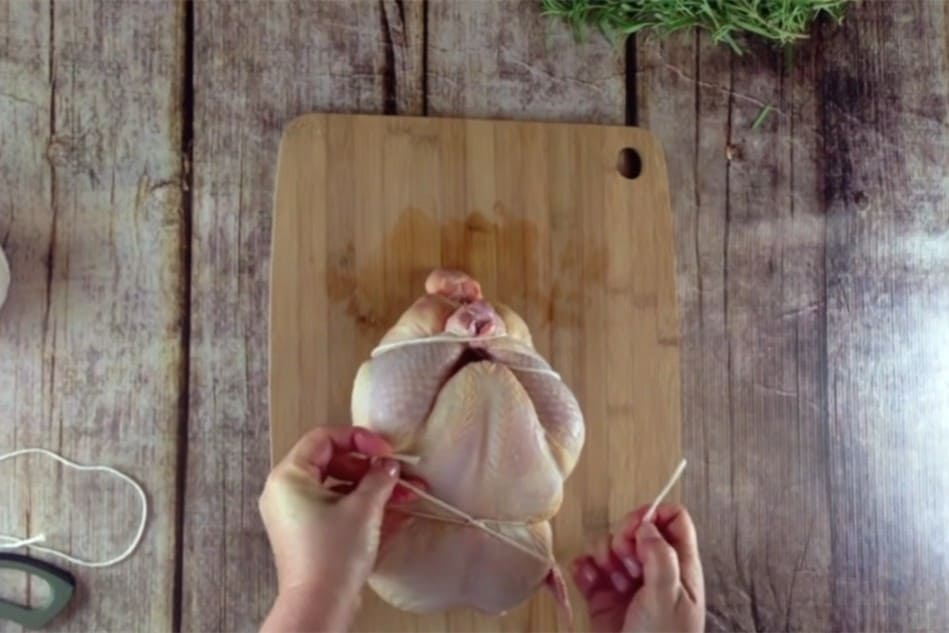
Get your twine, and find its middle.
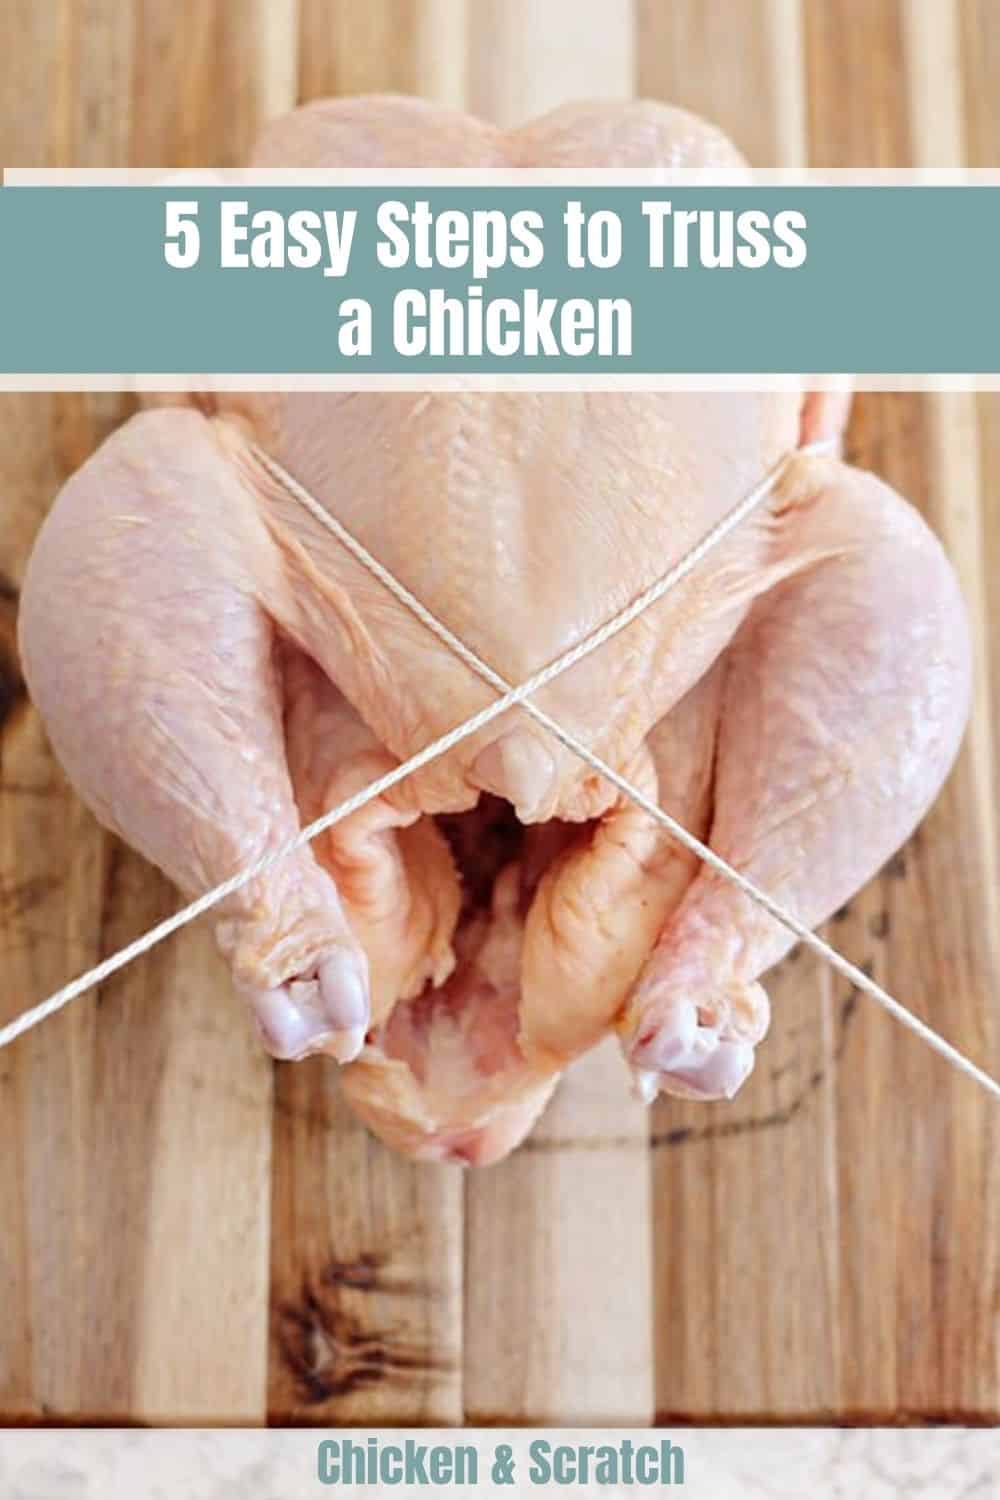
Once you find the middle, place it below where the neck was before. After that, take both ends and put them on both sides of your chicken. The twine should be in between the joint connecting the wings and the drumstick to the body.
After that, put both ends under the ankle of your drumstick. Bring it up, cross it, and then tie your knot. Make sure it is tight!
Cut the excess.
Step 5: Pushing Up the Breast
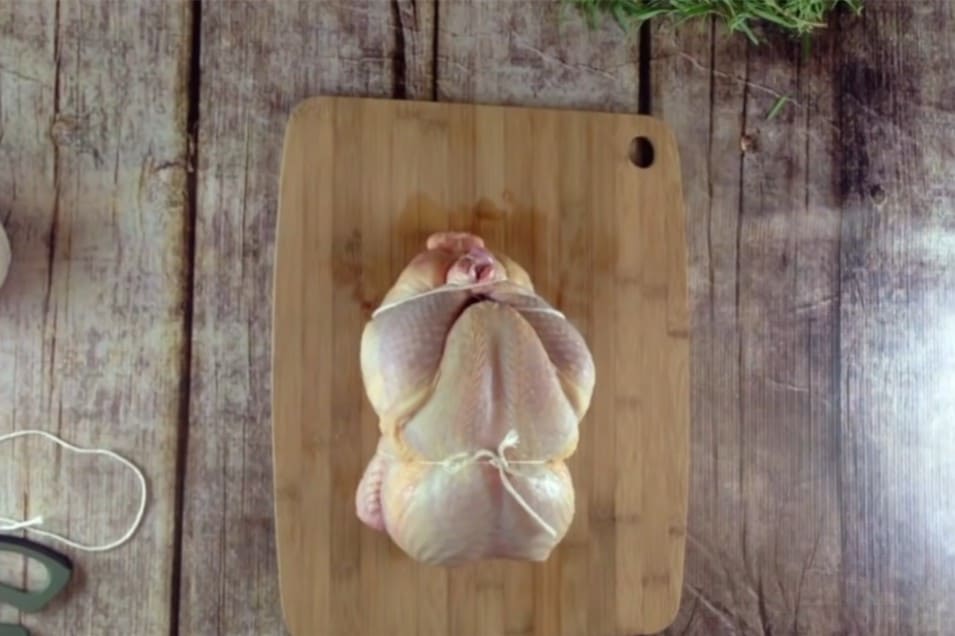
Our last step is less complicated than the last one.
By now, your chicken would look like it crossed its legs. What you want to do is to push the chicken’s legs down until the breast comes up.
And you are all done!
Usually, trussing a chicken takes only a few minutes. Some could even do it for around a minute.
It might take you some time to do it the first time, but with some practice, you will be able to do it faster and faster until you become a pro at it!
Is There Another Way to Truss a Chicken?
As we have said earlier, there are different ways to truss a chicken, so yes!
However, we chose to show you the method above because we believe it is one of the safest methods.
Trussing a chicken is not inherently dangerous. However, it involves using twine, and many methods require pulling and holding it tightly, which can potentially lead to accidents. If you are not used to cooking, or if this is the first time you are trussing a chicken, you might accidentally cut yourself that way.
Are you having a hard time following the steps above? Maybe you want to see the other methods? Well, you do not have to worry. We will be showing you some of the other ways to do it.
1. ChefSteps’ Method
ChefStep claims that this is a better method in trussing a chicken:
It looks different from the method we showed you, but it does the same thing. It is a little more complicated than the one above, but it is still pretty doable.
2. Martha Stewart’s Method
In Martha Stewart’s method, we see two distinct approaches to trussing. Both are effective, and choosing between them may come down to personal preference or convenience.
As you can see, they tied the chicken in different ways, but they ended up with the same thing – a trussed chicken!
When it comes to trussing, no method works perfectly for all kinds of poultry. Once you get the hang of one trussing method, it is a good idea to familiarize yourself with other techniques. This way, you will be able to see which method would work best for what bird.
Roasted Chickens
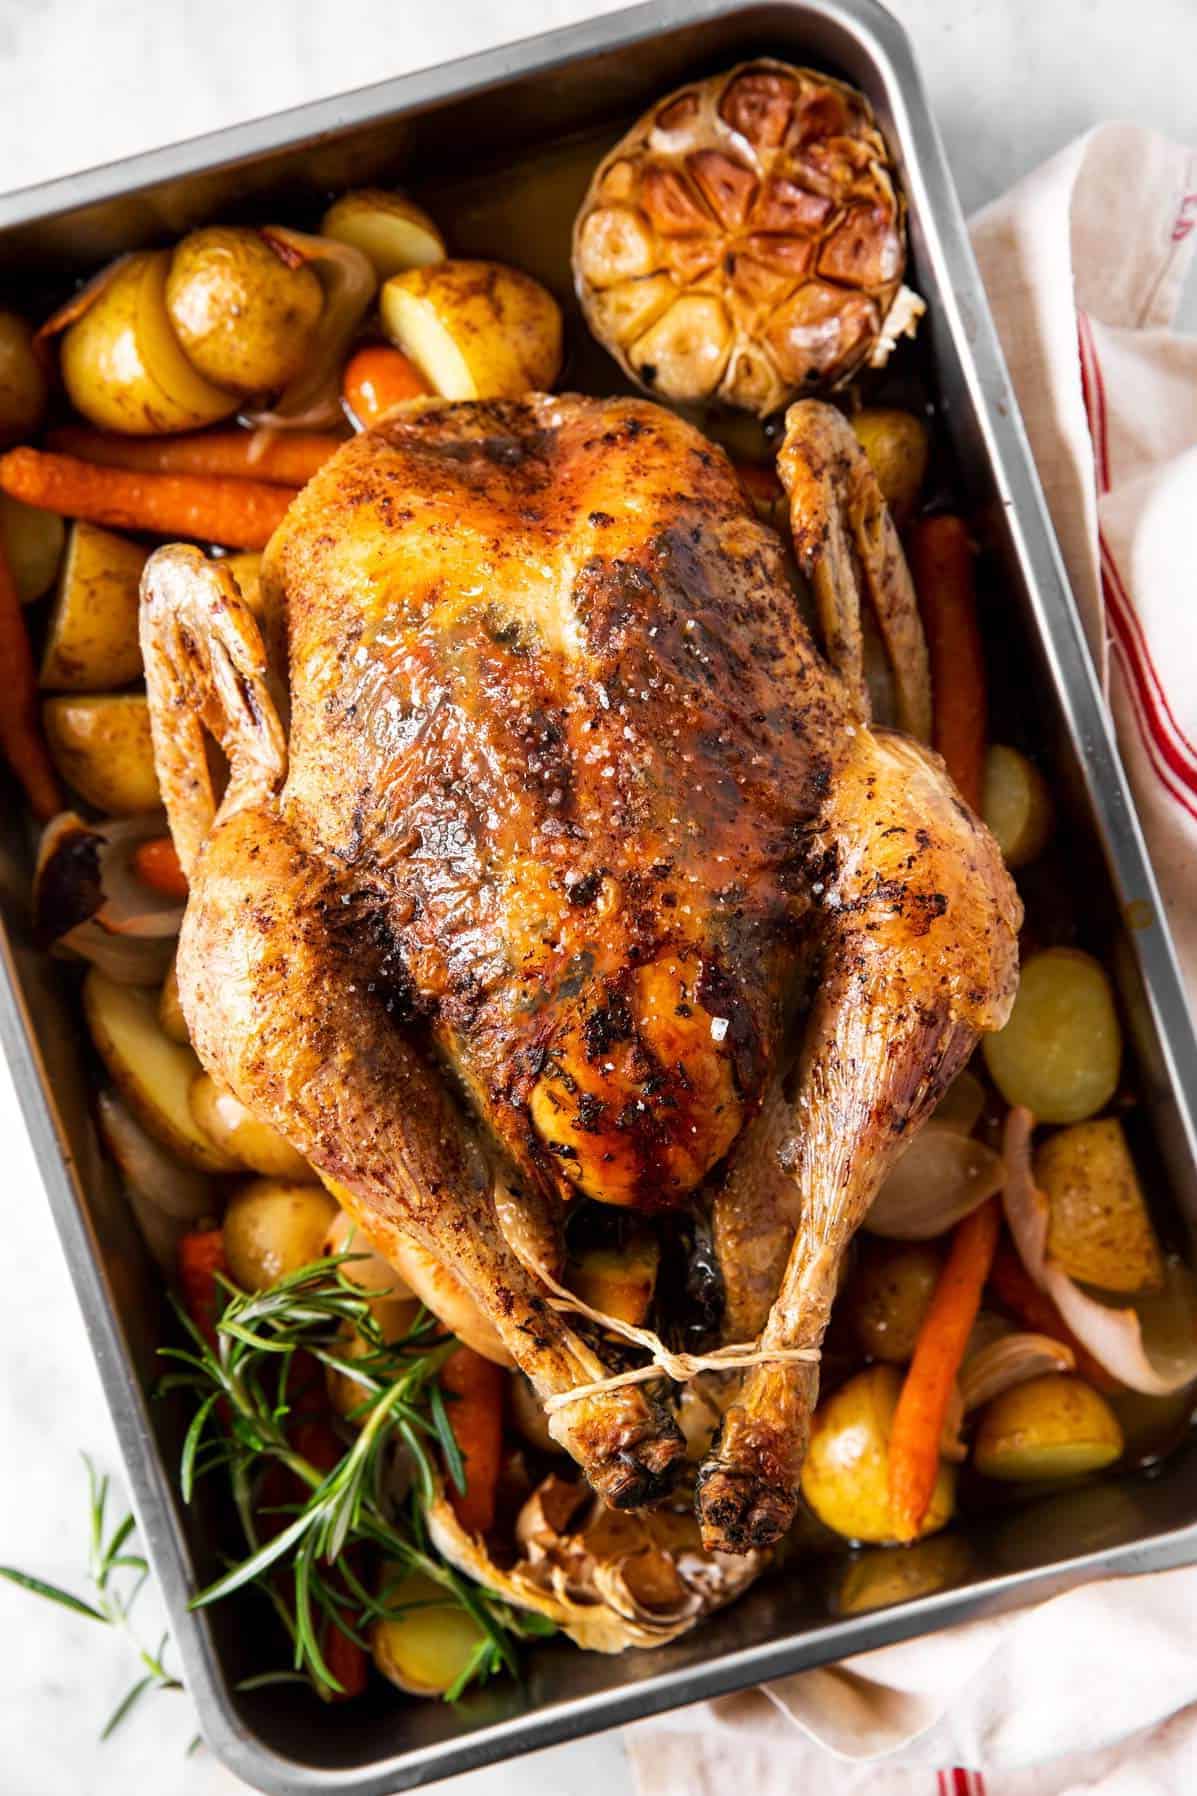
You now know how to truss a chicken, and we think that calls for a celebration! What better way to celebrate than with some roasted chickens?
Here are a few recipes you might want to try with your trussed chickens:
- Classic Roast Chicken & Gravy– Of course, we have to start with the classic. You might want to try this recipe for your first trussed chicken ever. While you are at it, you might want to partner it with some roast potatoes too!
- Roast Chicken & Vegetables– Since we already mentioned potatoes, why not toss in some carrots and onions in there by trying this roast chicken & vegetable recipe?
- Garlic Herb Butter Roast Chicken– On the other hand, if you are like me, then you might like this garlic herb butter roast chicken recipe just a little bit better.
There are tons of other roast chicken recipes out there. It could also be possible that you have a family-secret recipe too!
Now that you know how to truss a chicken, you have numerous options for preparing a roast chicken.
Summary
How to truss a chicken? It only looks and sounds complicated, but it is easy. In addition, there are many different ways, so you can find the best one that is the best for you!
Trussing a chicken is an easy way to give it its best chance to be the most delicious meal you will ever taste.
Additionally, it will not only make your dinner table look good, but it will most probably taste good too. So, what are you waiting for? It is time to truss your first chicken!
If you want to know more about stuff like this, then you might want to head on over to our other chicken cooking discussions. We hope to see you there.

Joseph Hudson has been raising chickens for over 15 years. In 2018, he completed the Agriculture & Natural Resources program at Mt. San Antonio College. He currently raises over 1400 chickens on his 7.5-hectare farm. He keeps sharing his experience on raising healthy and happy chickens on Chicken Scratch The Foundry.
