You’ve had your brood wandering your yard for weeks, growing and free ranging up a storm, and now the time has come to try your hand at butchering. Where on earth do you begin? Where can you find information on how to butcher a chicken?
Not to worry, novice—we are here to help you through the process of starting your chicken empire. Get ready for the most delicious, succulent meat you’ve ever tasted, and a fulfilling activity that you and your family members can enjoy for years to come:
1. Assemble all necessary equipment
Do yourself a huge favor before starting—-assemble all needed supplies and equipment before you start the process of butchering. Catching and butchering chickens is a messy business, and it can be stressful if you have to search for tools when you are in the messy middle of the job.
Here is a basic list of some of the things you need to begin butchering at home:
- A set of sharp knives
- A culling station with someplace to hang the chicken
- A rounded cone and bucket for draining the animal
- A large container filled with water that is just under boiling
- De-feathering station
- Trash can
- A cleaning station with an outdoor hose or sink
- Large container or cooler filled with ice
- 2-3 gallon ziplock bags
- A mason jar for saving chicken fat
- Smaller ziplock bags for saving liver and gizzards
2. Catch the critter
This is easier said than done; those who have had free range chickens for a while might want to practice the fine art of catching a chicken for butchering before the need arises.
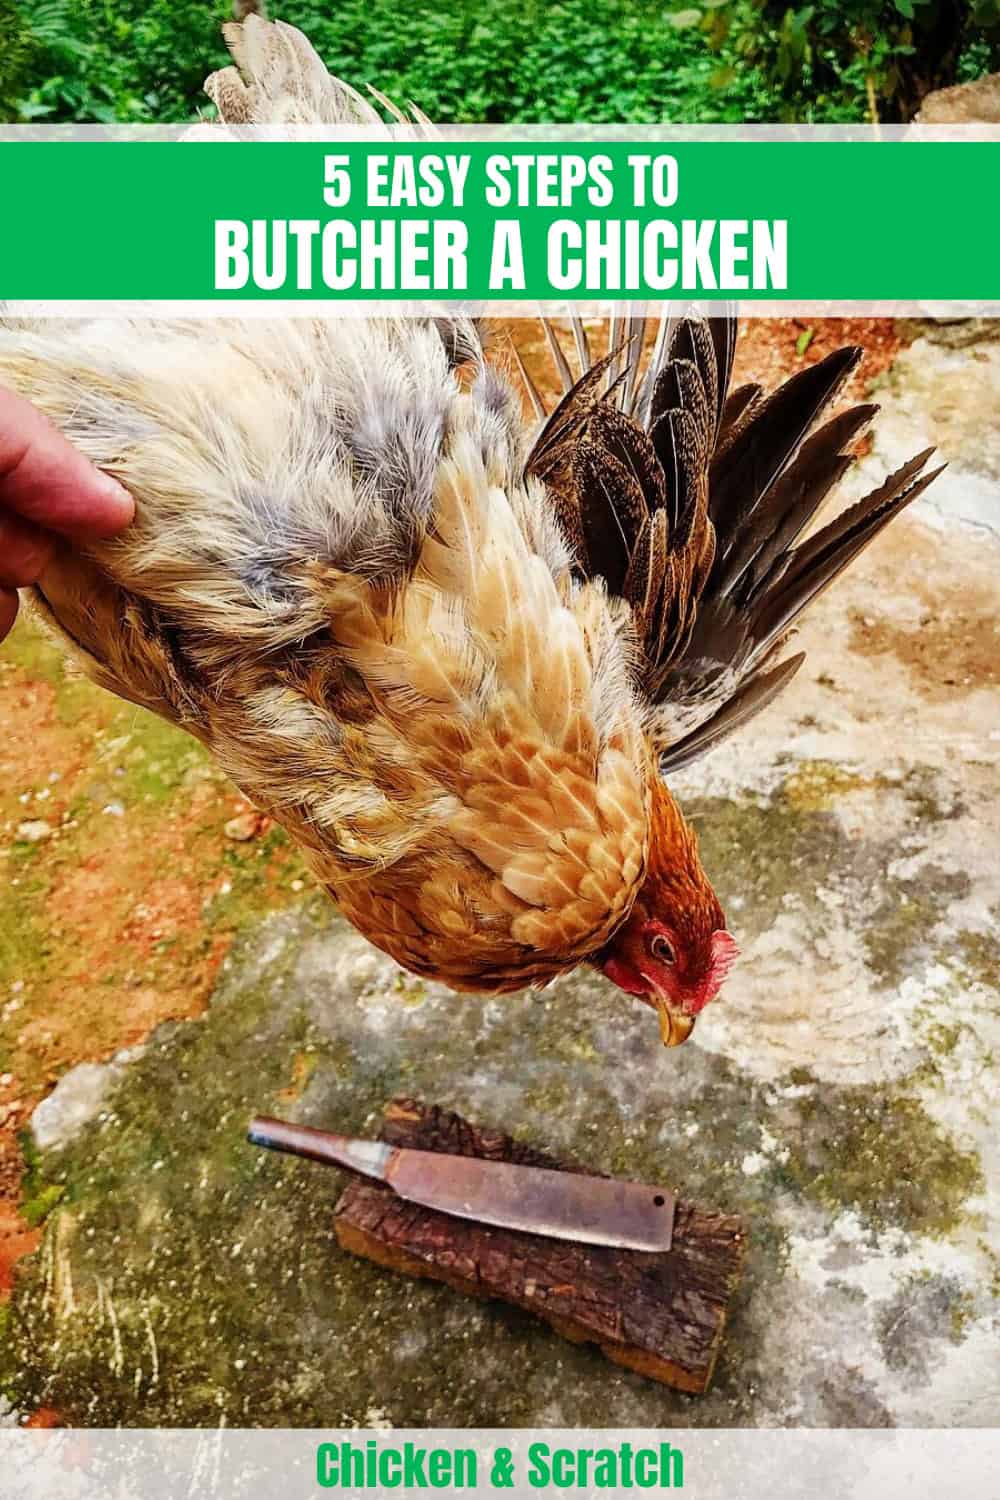
3. Cull the chicken
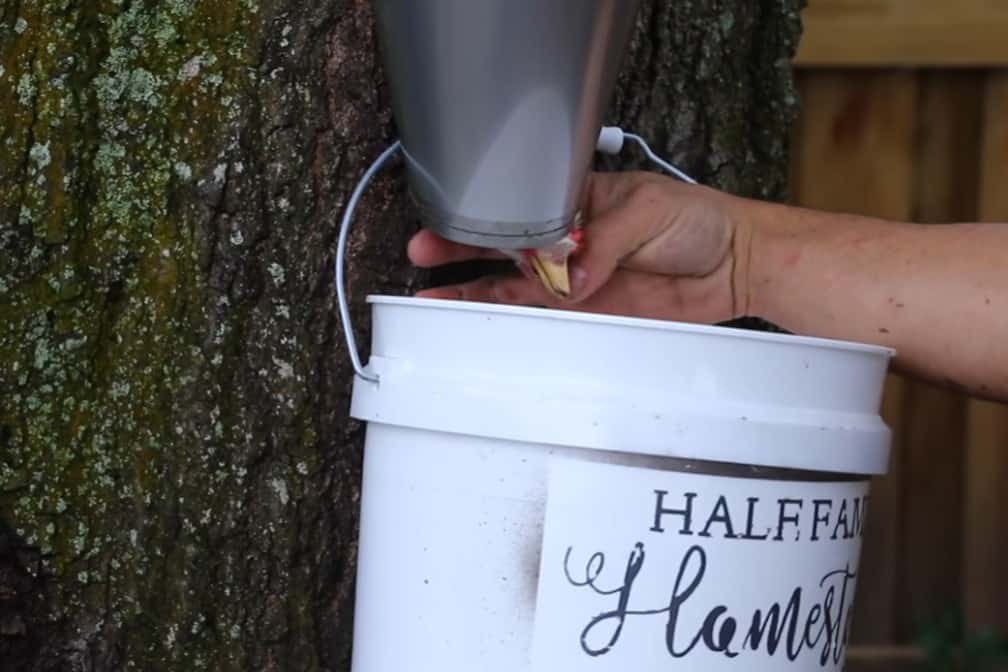
Once your chicken has been caught, place the chicken, head side down, into the cone. This will help prevent some of the violent wing flapping and convulsing that can occur once you remove the head.
Grasp the chicken through the end of the cone and with a very sharp knife, slice just below the jawline and into the jugular, severing the artery.
Allow the chicken to hang for a minute or two and then sever the head completely. Once this is completed, allow the chicken to drain completely, which should take 5-10 minutes.
4. Scalding and Feather Removal Process
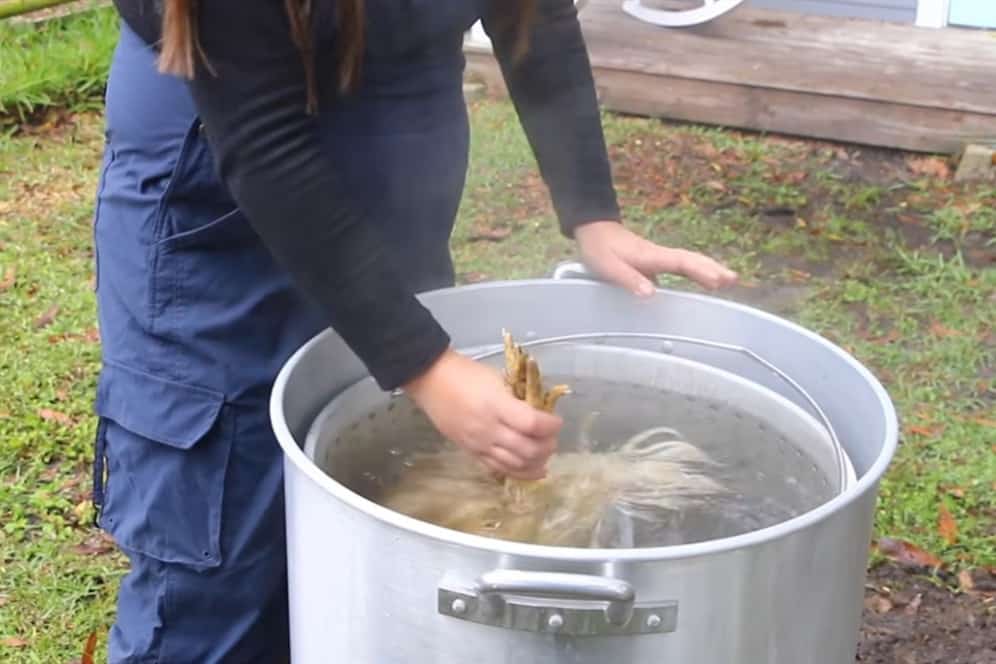
Feathers are a lot easier to remove when the skin has been scalded. Plunge the chicken into a hot water bath and hold for 45 seconds to 1 minute, allowing the fat around the pin feathers to melt.
Lay the scalded chicken on a flat surface, tucking the feet underneath the body. Starting around the wings and the tail, begin removing the pin feathers, as these can be difficult to remove once the skin has cooled. Continue pulling until all feathers have been removed.
5. Clean and trim

Cut the feet off at the joints. Starting at the neck, find two tubes that are bound together; these are the crop and the esophagus.
Separate these two pulling them down and out of the neck, cutting them off when you have pulled them as far as you can out of the cavity. Turn the bird around and place on its back, and begin to slice the bird open.
Make an initial cut right below the chicken’s vent. From the tip of the rib cage, cut down to where you made your first incision. Cut deep enough so that you can see into the cavity of the bird; ensure that you have a knife blade that is long enough to do so.
Grab the open flesh and continue cutting in a triangular shape, cutting off excess flesh as you go. Stick your hand into the open cavity and with curled fingers, begin scooping everything out.
You may have to pull and tug a little, but after the initial resistance, removing the innards should be relatively easy. Make sure to remove the lungs that are almost embedded into the back.
Make sure to save any fat from the inner cavity and around the organs as well as the chicken liver.
Rinse the inner cavity and outer flesh of the bird thoroughly with a garden hose or an outdoor sink. Once the bird is rinsed and clean, cut off the tail and place immediately into a large ziplock freezer bag.
Place them in a large bucket or ice chest filled with ice water and allow to cool before transferring to the freezer.

Summary
It’s understandable if you feel a bit overwhelmed by the process of butchering and preparing meat on your own. Rest assured, the benefits that come from consuming farm to table meat far outweigh any discomfort that you may experience as part of the learning curve.

Joseph Hudson has been raising chickens for over 15 years. In 2018, he completed the Agriculture & Natural Resources program at Mt. San Antonio College. He currently raises over 1400 chickens on his 7.5-hectare farm. He keeps sharing his experience on raising healthy and happy chickens on Chicken Scratch The Foundry.